
A creamy, protein-packed dessert with all the cheesecake vibes—without the bake, the crust, or the sugar overload.
Introduction
If you’re craving cheesecake but want something lighter, higher in protein, and lower in sugar, this No-Bake Cheesecake-Ish Dessert delivers.
It’s smooth, creamy, and customizable—perfect for make-ahead treats, portion control, and satisfying your sweet tooth without the guilt.
No oven, or crust. No problem.
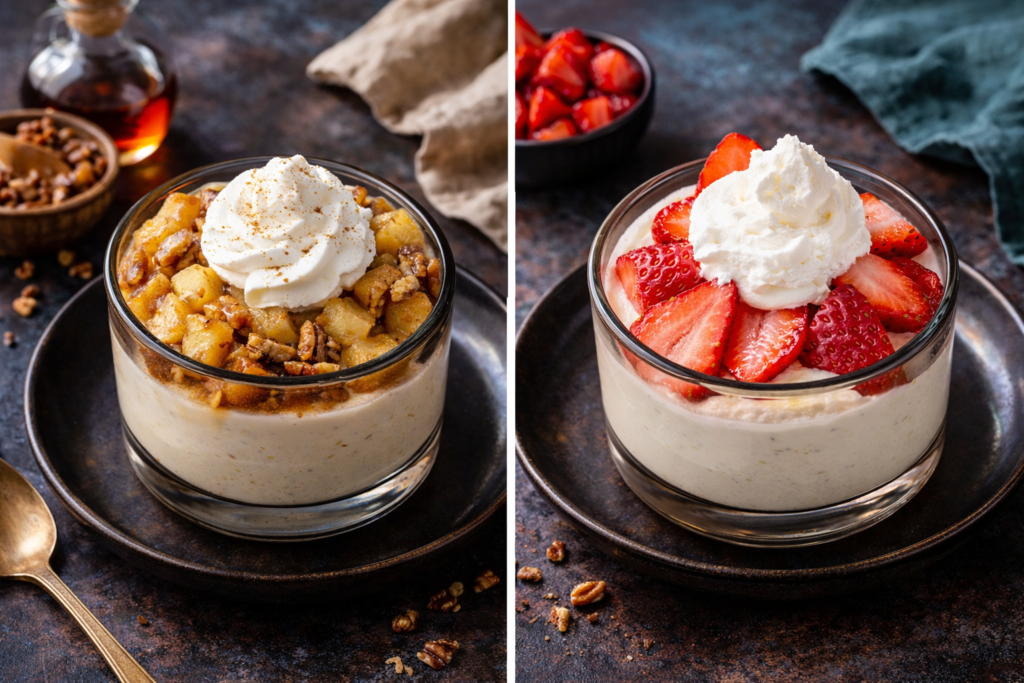
Two ways to enjoy it: cozy apple 🍎 or fresh strawberry 🍓 — you choose your mood.
Why You’ll Love This Recipe
What makes this dessert work is the texture. Blending the cottage cheese until completely smooth gives it that creamy cheesecake-like base, while the pudding mix and chilled whipped topping help it set without baking. The result lands somewhere between cheesecake and mousse — rich enough to feel like dessert, but light enough that you don’t feel like you need a nap afterward.
- High in protein
- Low in sugar
- No baking required
- Easy to customize toppings
- Perfect for meal prep
- Individual servings = portion control
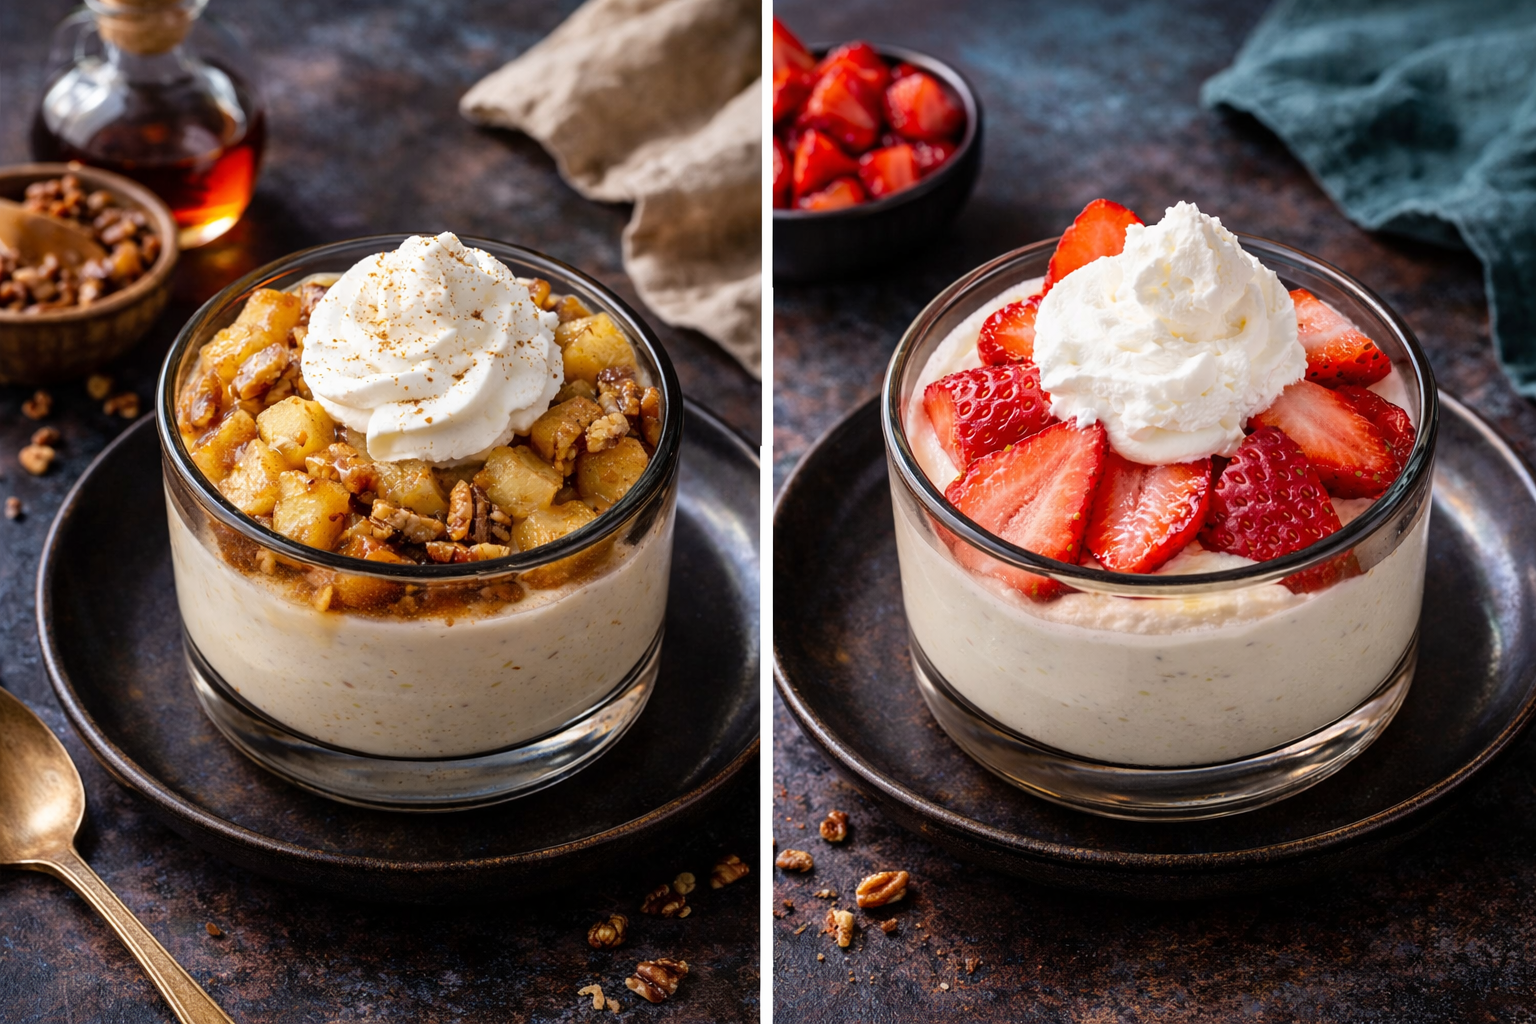
High-Protein, No-Bake Cheesecake-Ish (Crustless Dessert)
Ingredients
Equipment
Method
- Wash, peel, and dice or slice the Granny Smith apple. Add the apple to a small pot with the ½ cup water, cinnamon, nutmeg, ground ginger, ground clove, butter, Truvia to taste, 2 tablespoons of the maple syrup, vanilla flavoring, vanilla gel flavoring, and lemon juice. Cook over medium heat for 8–12 minutes, until the apples are soft but not mushy. Once they reach the texture you like, stir in the pecan pieces and let the topping cool completely.
- Place the ramekins in the refrigerator while you prepare the cheesecake mixture. This step is optional but can help with the initial chill.
- Use an immersion blender or standard blender to blend the cottage cheese until smooth and creamy. Transfer it to a large mixing bowl.
- Add the Cool Whip, cheesecake pudding mix, vanilla Premier Protein Shake, vanilla flavoring, vanilla gel flavoring, and Truvia to taste. Mix well. Gradually add the heavy whipping cream thinned with water until the mixture is smooth and creamy. The texture should be creamy, not too thick and not runny.
- Cover the bowl and refrigerate for 30–60 minutes so the mixture can begin to thicken before assembling.
- Slice or dice the strawberries. Place them in a small bowl with 1 tablespoon water and Truvia to taste. Stir and set aside. Drain off excess liquid before using as a topping.
- Remove the cheesecake mixture from the refrigerator and fill each ramekin about ¾ full, leaving room for toppings and enough space to cover the dishes while they chill.
- Cover and refrigerate for 4–8 hours, or up to 24 hours depending on the firmness you prefer.
- Top each ramekin with the desired amount of maple-pecan apples or drained strawberries. For the apple version, add a dollop of whipped cream and a very light dusting of cinnamon. For the strawberry version, add the drained strawberries and a dollop of whipped cream.
Notes
Pro Tips
- Blend cottage cheese thoroughly for the smoothest texture
- Chill at least 6–8 hours for best results
- Adjust the sweetness to your taste
- Don’t over-thin the mixture—aim for creamy, not runny
Texture Tip
This dessert should be:
- smooth ✔
- creamy ✔
- lightly set ✔
Not runny, not stiff—right in that cheesecake-meets-mousse zone.
Variations
- Skip toppings for a plain cheesecake cup
- Add crushed nuts for texture
- Use different fruits (blueberries, peaches, etc.)
- Add protein powder for even more protein
Storing & Serving
Storage Tip
Any variation—with or without toppings—can be frozen for later enjoyment.
For more information on safely storing leftovers, see the USDA’s food safety guidance.
💛 Closing
Try it and tell me what you think 💛
If you make this recipe, I’d love to hear how it turned out for you. Leave a comment below or check out more recipes on the Recipes page.
Simple recipes. Real encouragement. You’ve got this.
— Marquia
© 2026 I Cooked This! Recipe and original content by Marquia. All rights reserved.